
DIY Chainmail Bracelet Patterns make a surprisingly approachable jewelry craft, even when the finished bracelets look detailed and intricate. With jump rings, pliers, and a clasp, you can create sturdy handmade bracelets that feel modern, stylish, and personal.
This project works well for beginners because each pattern builds through repeated steps. Once your hands learn how to open, link, and close jump rings neatly, the process becomes calming and satisfying. Plus, chainmail jewelry gives you endless room to experiment with metal colors, ring sizes, and bracelet styles.
I still remember sitting at the kitchen table with a small tray of jump rings, two pliers, and no clue how those tiny circles could become jewelry. At first, every ring seemed to twist the wrong way. However, after a few tries, the pattern started to make sense. The bracelet grew row by row, and suddenly the pile of rings looked like something I would actually wear. That first finished bracelet felt simple, but it sparked a new favorite craft. Now, DIY Chainmail Bracelet Patterns feel like the perfect mix of patience, creativity, and wearable art.
Ingredients
Equipment
Method
- Gather jump rings, lobster clasp, and two pairs of pliers.
- Sort jump rings by size and open the rings needed for your chosen pattern.
- Attach the lobster clasp to the first small jump ring.
- Begin linking larger and smaller jump rings according to the chosen chainmail weave.
- Repeat the pattern until the bracelet reaches the desired length.
- Add a final jump ring for the clasp connection and close every ring tightly.
Notes
Tried this recipe?
Let us know how it was!Why DIY Chainmail Bracelet Patterns Are Great For Beginners
Simple Supplies Make It Easy To Start
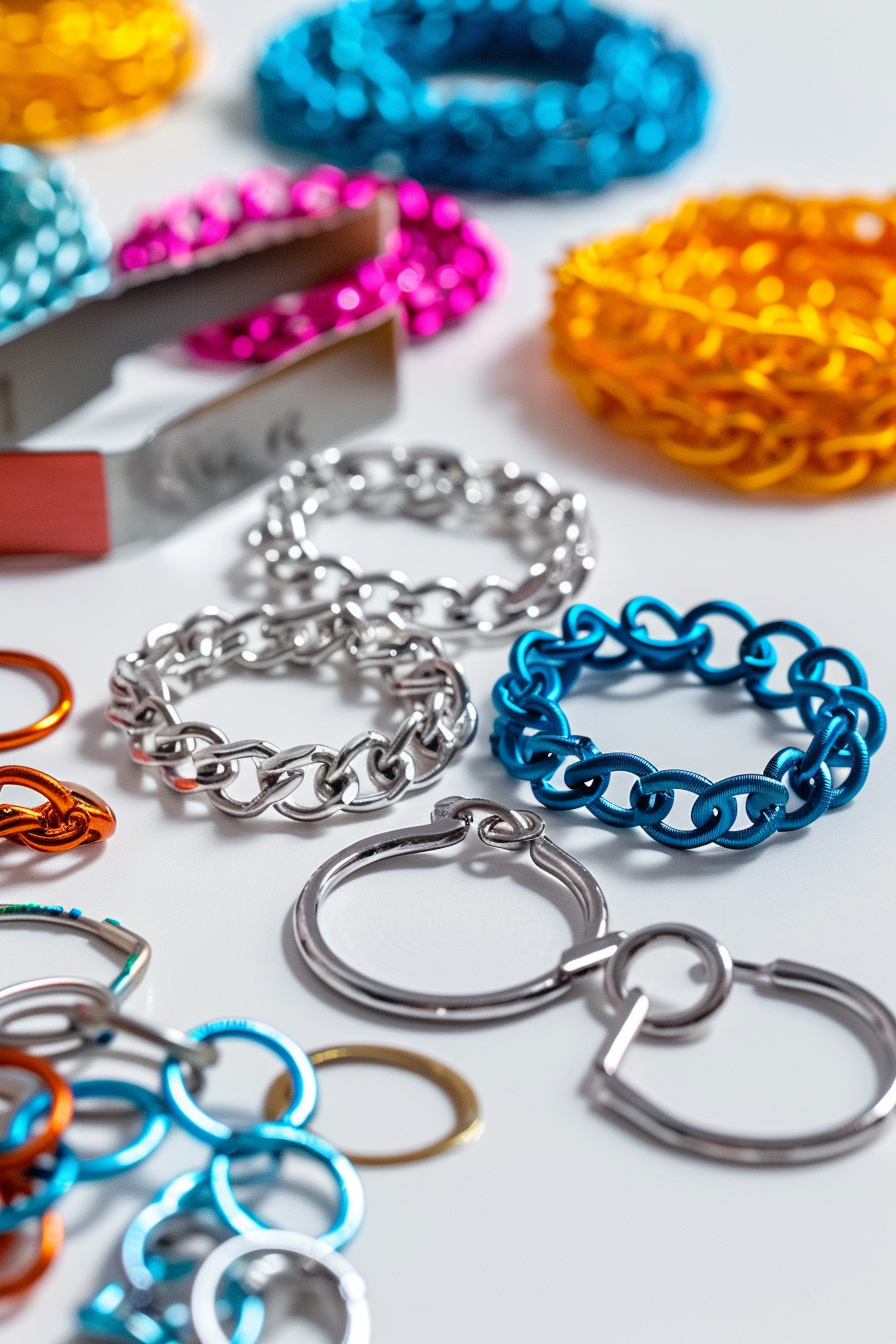
You do not need a large craft setup to make DIY Chainmail Bracelet Patterns. In fact, the basic supply list stays very small. You need jump rings, a lobster clasp, and two pairs of flat-nose or chain-nose pliers.
Because jump rings come in many sizes and colors, you can customize each bracelet easily. Aluminum rings work especially well for beginners because they feel lightweight and open more easily than harder metals.
A bead mat or shallow tray also helps keep rings from rolling away. Although it is optional, it makes the process much smoother.
Repeating Patterns Build Confidence
Chainmail may look complicated, but each bracelet grows through repetition. Once you learn one section of a weave, you simply repeat that section until the bracelet reaches the right length.
This makes DIY Chainmail Bracelet Patterns relaxing once you understand the rhythm. Also, you can pause and restart without losing your place if you keep your bracelet laid flat.
Beginners should start with simple weaves, then move into more detailed designs. As your ring closures improve, your bracelets will look cleaner and feel stronger.
Supplies And Setup For Chainmail Bracelets
Materials You Need
For most DIY Chainmail Bracelet Patterns, gather these supplies:
- 4mm jump rings
- 5mm jump rings
- 8mm jump rings
- Lobster clasp
- Two chain-nose or flat-nose pliers
- Bead mat or tray
Different patterns use different ring sizes. Therefore, sort your jump rings before you begin. This saves time and prevents frustration while you work.
Also, open some rings ahead of time and leave others closed, depending on the bracelet style. This keeps the flow steady and helps each section come together faster.
How To Open And Close Jump Rings
Always open jump rings by twisting the ends sideways, not by pulling them apart. Hold one side of the ring with one pair of pliers. Then use the second pair to twist the other side toward you or away from you.
After linking the ring into your pattern, twist it closed until the ends meet flush. A tight closure keeps the bracelet secure and prevents snagging.
If the ends do not line up perfectly, gently wiggle them back and forth until they sit neatly together.
Five DIY Chainmail Bracelet Patterns To Try
Helm And Barrel-Style Weaves
The helm weave, also called a parallel weave, creates a bold bracelet with layered rings. It uses larger 8mm rings and smaller 5mm rings to build a structured design. Start with a clasp, attach small rings, then build alternating layers until the bracelet reaches your wrist size.
A barrel weave variation creates a rounded, dimensional bracelet. This style looks more complex, but it still relies on repeated ring connections. The finished piece feels sturdy and eye-catching.
Both designs work well for metallic finishes like silver, black, bronze, or mixed metals.
Diamond, Box, And Japanese Weaves
A diamond chainmail pattern creates a wider bracelet with an open geometric look. It uses repeated sets of 8mm rings that form connected diamond shapes.
A box weave variation creates a thicker bracelet with a dimensional center. This design looks especially nice in two-tone colors because the ring layers stand out clearly.
The Japanese 12-in-2 weave uses larger rings connected with smaller rings. It creates a flexible, decorative bracelet that looks elegant and modern. Because this pattern involves more small rings, it may take extra patience, but the result is worth it.
Tips For Better DIY Chainmail Bracelet Patterns
Keep The Bracelet Neat As You Work
Lay your bracelet flat after every few sections. This helps you spot twisted rings early. If one ring sits the wrong way, fix it before adding more sections.
Also, keep your ring sizes consistent. Even one incorrect ring can change the shape of the pattern.
Good lighting helps too. Since jump rings are small, a bright workspace reduces eye strain and makes closures easier to check.
Customize Your Bracelet Designs
Once you understand the basic weaves, start customizing. Try colored aluminum rings, mixed metal finishes, or alternating ring colors within the pattern.
You can also adjust bracelet width by choosing a different weave. Slim patterns feel subtle and everyday-friendly, while wider patterns make more of a statement.
For gifts, measure the recipient’s wrist and add a little room for comfort. Then finish with a lobster clasp and a final jump ring for easy closure.
Frequently Asked Questions
Are DIY Chainmail Bracelet Patterns hard?
No. They look detailed, but beginner-friendly patterns use simple repeated steps.
What pliers work best?
Chain-nose or flat-nose pliers work best because they grip rings without bulky tips.
Can I use colored jump rings?
Yes. Colored aluminum jump rings add personality and make patterns easier to see.
How long does one bracelet take?
Most beginner bracelets take about 30 to 60 minutes, depending on the pattern.
How do I keep jump rings from opening?
Close each ring flush and wiggle the ends gently until they align tightly.
Conclusion
DIY Chainmail Bracelet Patterns turn simple jump rings into stylish handmade jewelry. With basic tools, a steady workspace, and a little patience, beginners can create bracelets that look polished and unique.
Start with an easy weave, practice clean ring closures, and then try more detailed patterns as your confidence grows. Before long, you can mix colors, metals, and styles to create bracelets for yourself, gifts, or matching jewelry sets.
Leave a Reply