
After a particularly long week, I found myself yearning for a little slice of tranquility in my busy home. Inspired by the soothing atmosphere of a spa, I decided to craft my own aromatic escape. Enter DIY Aroma Stones: simple yet enchanting little creations that fill your space with delightful, custom scents.
With just a few pantry staples and your favorite essential oils, you can transform any room into a calming oasis. The best part? These stones not only elevate your home’s ambiance but also provide a fun, hands-on project that's satisfying to make. Imagine blending calming lavender for relaxation or invigorating citrus to kickstart your day.
Whether you’re treating yourself or looking for the perfect homemade gift, these aroma stones are your answer. Join me as we dive into this fragrant craft that promises to bring a touch of nature’s beauty right to your living space!
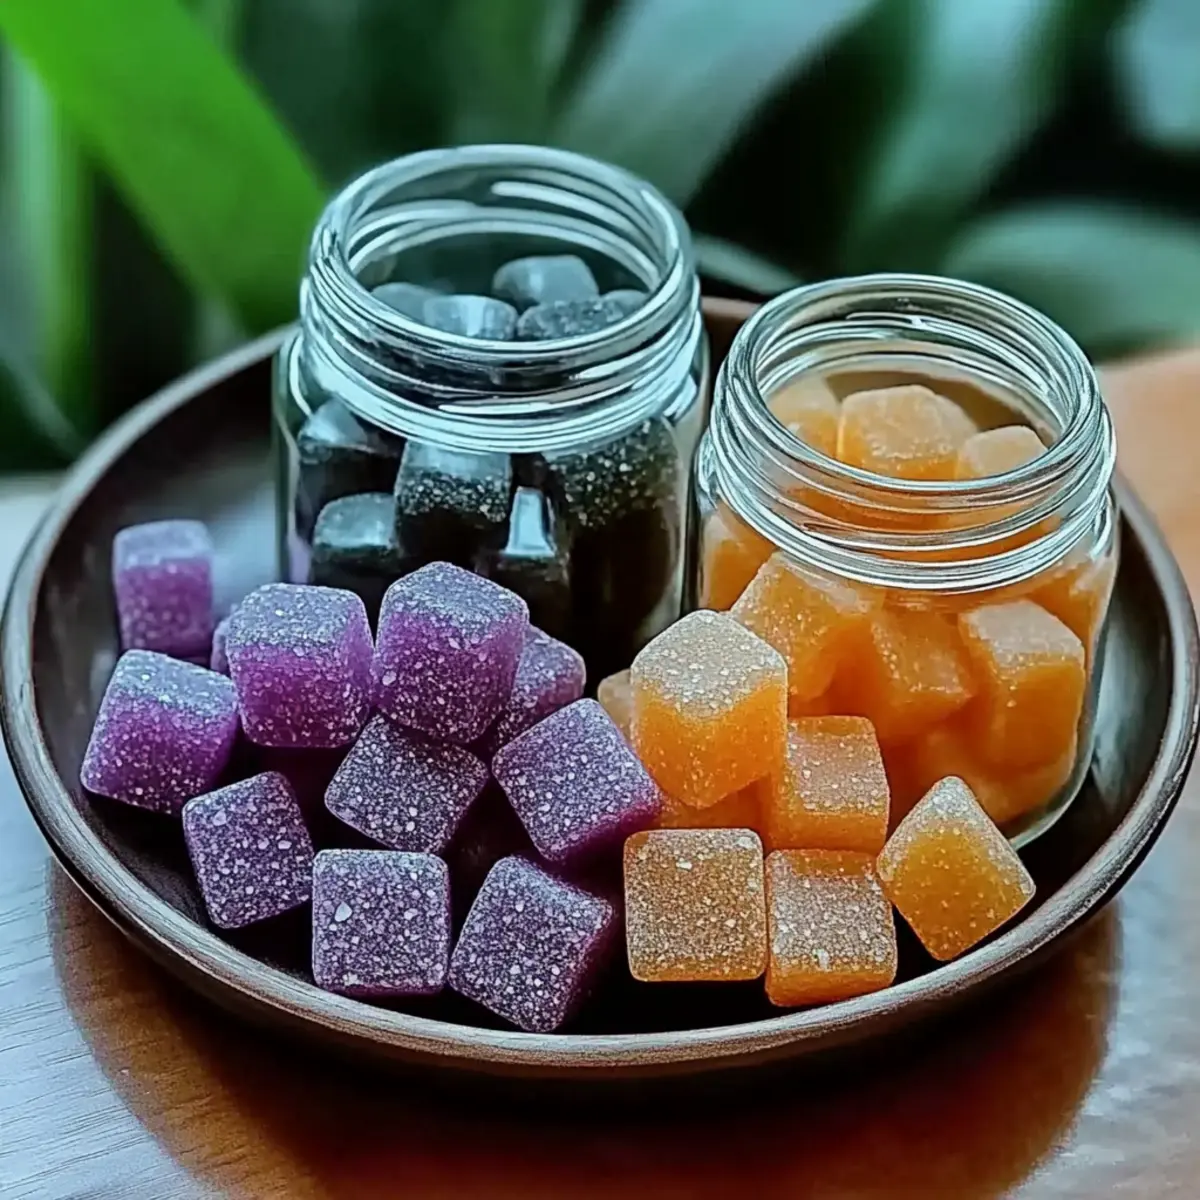
Why love DIY Aroma Stones for your home?
Simplicity: These aroma stones require just a few pantry staples, making them a straightforward and fun project anyone can tackle.
Customizable: Tailor the scents to your mood using your favorite essential oils, from calming lavender to zesty citrus.
Natural Elegance: Replace artificial fragrances with a charming, natural alternative that complements your home decor beautifully.
Thoughtful Gift: Handcrafted aroma stones make for a delightful, personal gift that shows you care.
Versatile Placement: Use them in bowls, closets, or drawers to enhance any space with a gentle, inviting fragrance.
Stress Relief: Engaging in this simple craft can be a soothing activity, allowing you to unwind and relax.
For more options on enhancing your home with natural scents, check out my post on making scented sachets.
Ingredients for DIY Aroma Stones
For the Base
• Baking Soda – Provides structure and absorbs moisture; for a fluffier texture, try mixing in some baking powder.
• Cornstarch – Helps bind the mixture; you can substitute arrowroot powder if you're in a pinch.
• Water – Activates the dry ingredients; adjust the amount to get your desired consistency for the stones.
For the Scent
• Essential Oils – Customize the aroma of the stones; consider using Lavender for a calming effect or Citrus for a vibrant, uplifting scent.
For the Visual Appeal
• Food Coloring – Optional to enhance visual appeal; opt for natural dyes for a more eco-friendly option.
Optional Finishing Touches
• Mica Powder or Glitter – Use to dust the finished stones for a touch of shimmer or glam, making them extra special!
How to Make DIY Aroma Stones
Mix Dry Ingredients: In a mixing bowl, combine 2 cups of baking soda with 1 cup of cornstarch. Stir well until they are fully blended, creating a light, fluffy base for your aroma stones.
Add Water: Gradually pour in 1.25 cups of water while continuously mixing. Aim for a dough-like consistency that holds together without being too sticky; adjust water as needed.
Incorporate Scents and Color: Add 10-15 drops of your chosen essential oils and a few drops of food coloring, if desired. Mix thoroughly to ensure the scent is evenly distributed throughout the dough.
Shape Stones: Use silicone molds or shape by hand into your desired forms. Let your creativity shine—spirals, hearts, or simple spheres will all work beautifully!
Drying Process: Place the shaped stones on wax paper or a drying rack. Allow them to dry for about 24 hours in a cool, dry area until hard and firm to the touch.
Finishing Touches: (Optional) Once dry, you can dust the stones with mica powder or roll the edges in glitter for an extra touch of charm and sparkle.
Optional: Add a drop of essential oil weekly to refresh the scent and keep them fragrant!
Exact quantities are listed in the recipe card below.
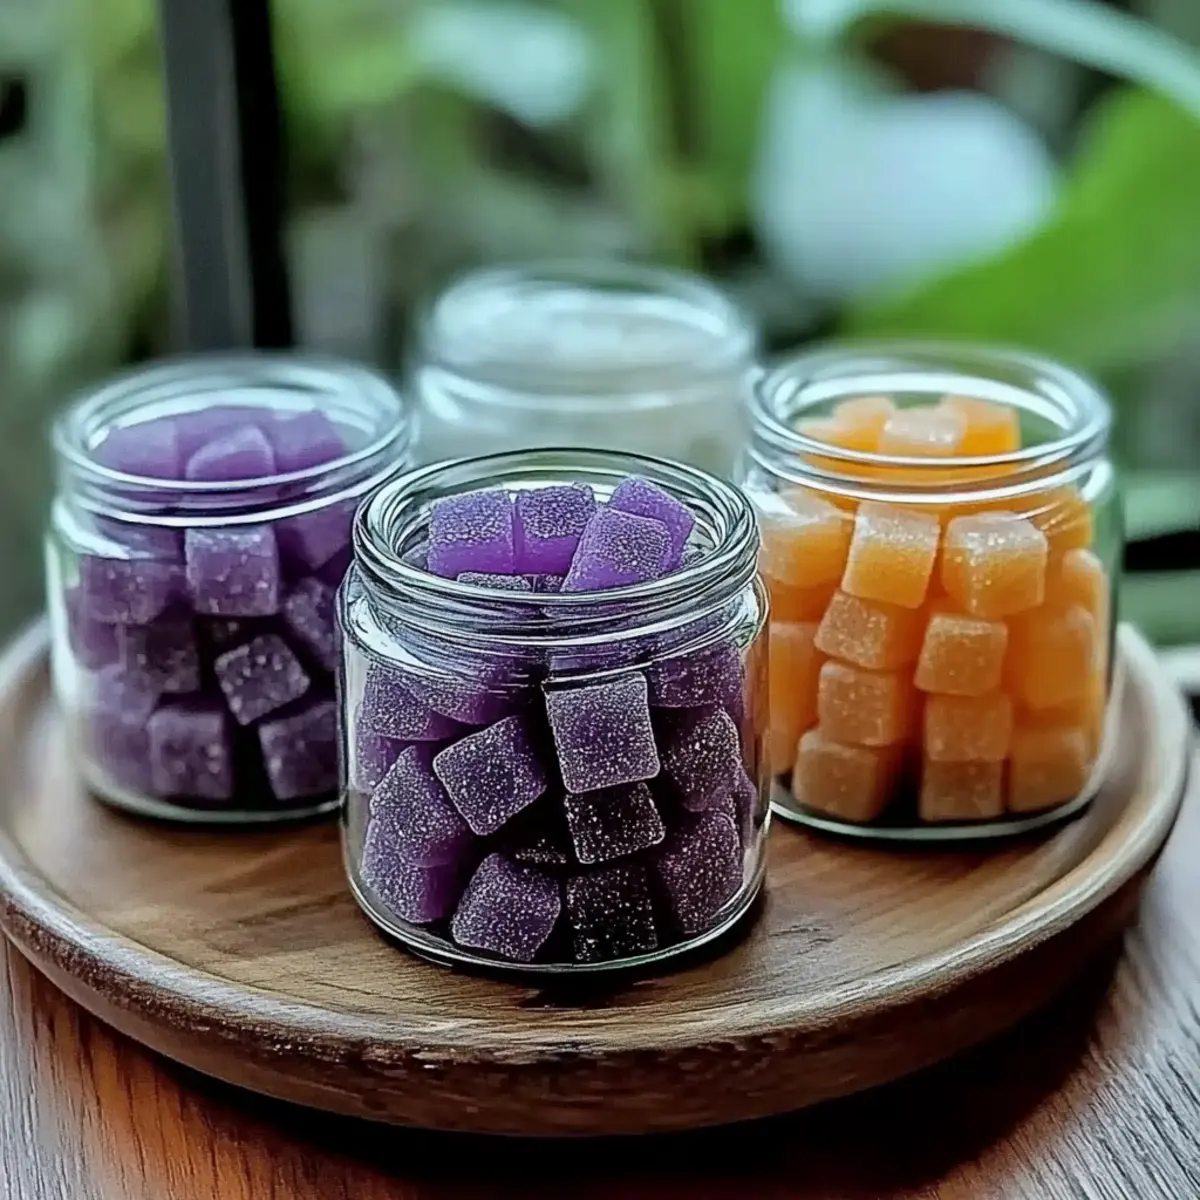
What to Serve with DIY Aroma Stones?
Crafting your own aroma stones creates an inviting ambiance, and pairing them with thoughtful additions can elevate any space.
- Scented Candles: Offer soft, flickering lights that enhance the soothing atmosphere created by your aroma stones. Choose calming scents that complement your chosen essential oils.
- Fresh Flowers: Bring life and color to your decor; place a bouquet nearby to amplify the natural feel of your DIY creations.
- Herbal Teas: A warm cup of tea can transform mood and ambiance—try chamomile or peppermint for a tranquil touch that pairs well with soothing aromas.
- Natural Incense: Enhance the fragrance experience by lighting incense sticks that echo your DIY aroma stones' scents, creating a cohesive olfactory masterpiece.
- Essential Oil Diffuser: Use a diffuser with similar blends to keep your space filled with fragrance, complementing the steady release from your aroma stones for a layered scent experience.
- Charming Bowls: Display your stones in decorative bowls or trays that harmonize with your decor, making them excellent conversation starters while blending style and scent.
- Soft Throw Blankets: Create a cozy nook where you can enjoy the ambiance; a plush blanket invites you to relax and indulge in the atmosphere you've thoughtfully created with your DIY aroma stones.
Helpful Tricks for DIY Aroma Stones
• Consistent Texture: Ensure that the dough is neither too wet nor too dry. A perfect dough should be moldable but not sticky, giving a nice solid structure to your DIY aroma stones.
• Essential Oil Choices: Choose high-quality essential oils for the best aroma. Mixing different scents can create unique blends—experiment to find your perfect combination!
• Natural Coloring: If using food coloring, remember that a little goes a long way. Start with a few drops, and mix until you achieve your desired hue—this keeps your DIY aroma stones looking vibrant.
• Proper Drying: Allow ample drying time. Insufficient drying can lead to crumbling, so be patient and place them in a well-ventilated area for about 24 hours.
• Storage Secrets: To maintain their fragrance, store any leftover stones in an airtight container away from sunlight. Refresh scents weekly with a drop of essential oil for lasting joy!
DIY Aroma Stones Variations & Substitutions
Feel free to infuse your creativity into these aromatic creations by making delightful twists that suit your senses!
- Citrus Burst: Swap in citrus essential oils like lemon or orange for a lively, refreshing scent that energizes your space.
- Herb Garden: Add dried herbs such as lavender, rosemary, or chamomile to the mixture for a touch of nature and an earthy aroma.
- Floral Fantasy: Incorporate floral essential oils like jasmine or rose for a romantic scent that brings a gentle elegance to your home.
- Woodsy Comfort: Experiment with sandalwood or cedarwood essential oils for a grounding, cozy fragrance reminiscent of a serene forest retreat. Imagine breathing in that calming essence as you unwind at the end of the day!
- Colorful Touch: Use natural dyes from beet juice or turmeric for an eco-friendly pop of color, creating visually stunning stones that brighten up any corner.
- Sparkle Enhancement: After drying, roll the stones in biodegradable glitter or shimmer dust for a dazzling finish that catches the light beautifully.
- Custom Scent Blends: Don’t hesitate to combine multiple essential oils—mix a few drops of mint with lavender for a cool, soothing aroma that creates a tranquil atmosphere.
- Heat Boost: For a spicy kick, introduce a few drops of cinnamon or clove essential oils—perfect for creating a warm, inviting vibe during chilly seasons!
Make Ahead Options
These DIY aroma stones are perfect for busy home cooks looking to save time! You can prepare the mixture up to 24 hours in advance. Simply mix the dry ingredients and check the consistency after adding water; store it covered in an airtight container to prevent it from drying out. When you’re ready to create, shape the stones and allow them to dry for about 24 hours in a cool, dry area. To maintain their quality, keep them in a sealed container away from sunlight, which helps preserve the scent until you’re ready to use or gift them. Enjoy the calming process of crafting your DIY aroma stones with less stress!
How to Store and Freeze DIY Aroma Stones
Airtight Container: Keep your DIY aroma stones in a sealed, airtight container away from sunlight to preserve their delightful scents for up to 6 months.
Cool, Dry Place: Store extras in a cool and dry area to avoid moisture that could dampen their fragrance or cause crumbling.
Fragrance Refreshing: For prolonged scent, apply a drop of essential oil on the stones weekly, ensuring they continue to offer calming aromas throughout your home.
Gift Packaging: If giving as gifts, wrap the aroma stones in breathable fabric and place them in decorative boxes to keep their scents intact!
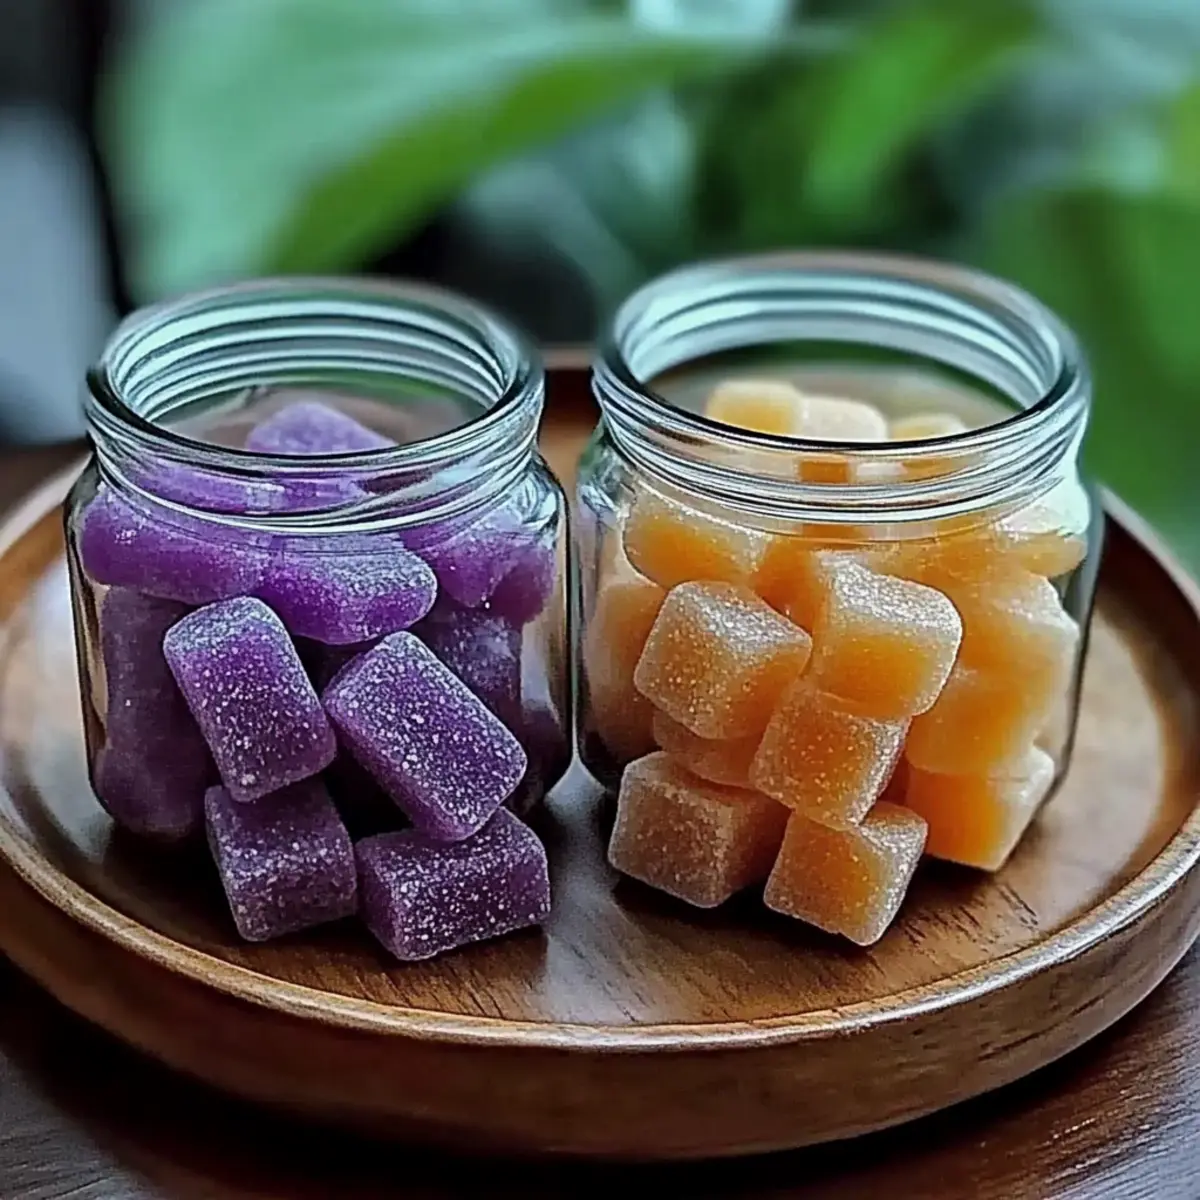
DIY Aroma Stones Recipe FAQs
How do I select the best essential oils for my DIY aroma stones?
Absolutely! When choosing essential oils, think about the mood you want to create. For relaxation, Lavender is a popular choice, while Citrus oils like Orange or Lemon can be refreshing and uplifting. Make sure to use high-quality oils for the best aroma; check for 100% pure labels.
What is the best way to store my DIY aroma stones?
To keep your DIY aroma stones fresh and fragrant, store them in an airtight container placed in a cool, dry area. This method will preserve their delightful scents for up to 6 months. Avoid exposure to sunlight and moisture, which can impact their longevity.
Can I freeze the aroma stones for longer storage?
While freezing isn’t typically recommended, if you wish to try it, place the aroma stones in an airtight, freezer-safe container. They can last up to 3 months in the freezer. However, do note that textures might change upon thawing. When you're ready to use them, simply let them come to room temperature before placing them back to enhance your space.
What should I do if my aroma stones crumble or don't hold shape?
Very! If your aroma stones crumble, it might be due to too much water in the mixture. Next time, reduce water gradually to achieve a dough-like consistency that's moldable but not sticky. Similarly, ensure you allow sufficient drying time—around 24 hours—so they harden properly.
Are there any allergies or dietary considerations I should be aware of?
Yes! Always consider allergy sensitivities when selecting essential oils. Some people may be allergic to specific oils, like Eucalyptus or Peppermint. If you’re gifting the aroma stones, it’s wise to inform recipients of the ingredients used. Also, avoid using them in spaces accessible to pets, as some essential oils can be harmful to animals.
How can I enhance the appearance of my DIY aroma stones?
For a little extra flair, after shaping your stones, dust them with mica powder or roll the edges in glitter. This not only adds a whimsical touch but can also make them visually appealing gifts! If you're using food coloring, start with a few drops to achieve your desired hue, ensuring that they remain colorful and attractive.
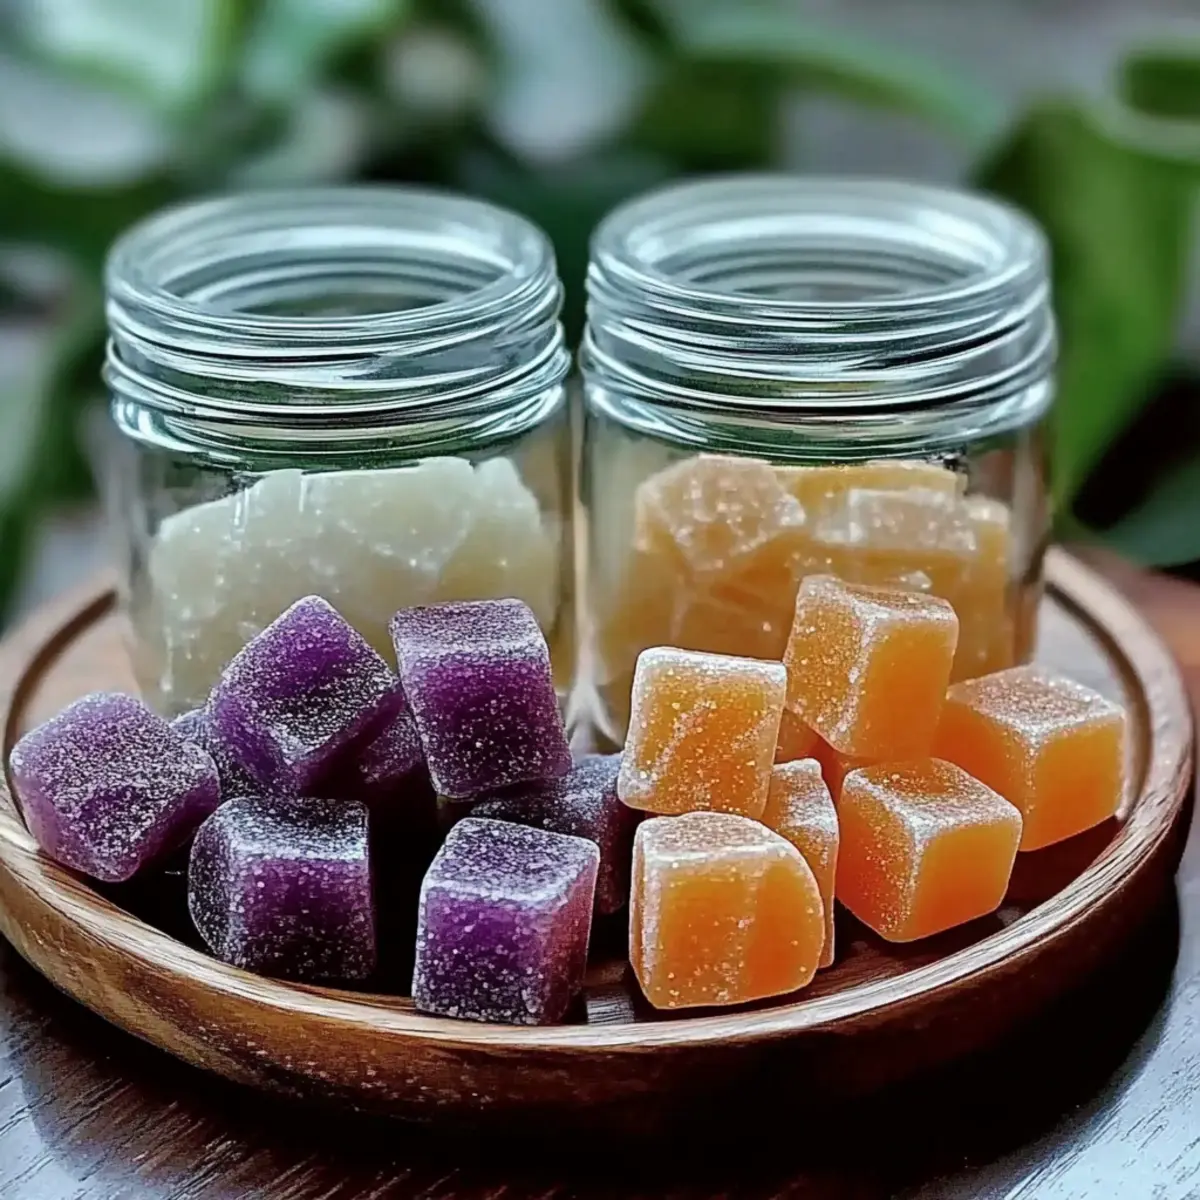
DIY Aroma Stones: A Calming Craft for Naturally Scented Spaces
Ingredients
Equipment
Method
- In a mixing bowl, combine 2 cups of baking soda with 1 cup of cornstarch. Stir well until they are fully blended.
- Gradually pour in 1.25 cups of water while continuously mixing until a dough-like consistency forms.
- Add 10-15 drops of your chosen essential oils and a few drops of food coloring if desired. Mix thoroughly.
- Shape the mixture into your desired forms using silicone molds or by hand.
- Place the shaped stones on wax paper or a drying rack. Allow them to dry for about 24 hours.
- Dust with mica powder or glitter for sparkle if desired once dry.
Leave a Reply