
Homemade Chocolate Bars are one of the easiest edible gifts you can make for holidays, birthdays, party favors, and sweet little surprises. With melted chocolate, fun toppings, and simple molds, you can create beautiful custom candy bars that look thoughtful, taste delicious, and feel far more special than store-bought treats.
A few Decembers ago, I needed quick gifts for neighbors and friends, but I wanted something homemade that did not require hours of baking. I melted chocolate, poured it into silicone molds, and let everyone in the kitchen choose toppings. One bar had peppermint, another had toffee, and another had crushed cookies. Once wrapped in parchment, ribbon, and little tags, they looked festive and personal. Since then, Homemade Chocolate Bars have become my favorite last-minute gift because they are simple, flexible, and always loved.
Ingredients
Equipment
Method
- Whisk flour, baking soda, and salt together, then pour into a clean, dry quart-size mason jar.
- Pack the flour layer firmly with the back of a spoon.
- Add brown sugar and press it down firmly.
- Add granulated sugar and level the layer.
- Top with chocolate chips and candy-coated chocolate pieces.
- Seal the jar tightly with a lid.
- Decorate the jar with fabric, ribbon, twine, and a recipe tag.
- On the tag, instruct the recipient to mix the jar contents with ½ cup softened butter, 1 large egg, and 1 teaspoon vanilla extract.
- Bake scooped dough at 350°F for 9 to 11 minutes, or until the cookie edges look lightly golden.
Nutrition
Notes
Tried this recipe?
Let us know how it was!Why These Homemade Chocolate Bars Are Perfect for Gifting
Simple Ingredients, Beautiful Results
Homemade Chocolate Bars only need chocolate and toppings, yet they look polished when poured into molds and wrapped neatly. Because the recipe starts with good chocolate, the flavor tastes rich and smooth without extra work.
You can use dark chocolate, milk chocolate, white chocolate, or a mix. Then, add toppings like peppermint, nuts, toffee, caramel bits, dried fruit, crushed cookies, cacao nibs, or colorful sprinkles.
Since each bar can have a different flavor, this recipe works well for families, teachers, coworkers, neighbors, and party guests.
A Fun No-Bake Treat
These Homemade Chocolate Bars require no oven, no mixer, and no complicated steps. You melt, pour, top, chill, and wrap.
Because the process moves quickly, this is a great project for busy holiday weeks. It also works well for beginners who want a homemade candy gift without making caramel, fudge, or brittle.
In addition, silicone molds make the bars look clean and professional. Once the chocolate sets, the bars release easily and hold their shape beautifully.
Ingredients and Tools You Need
Choosing the Best Chocolate
Use quality chocolate bars or baking chocolate for the smoothest melt. Chocolate chips can work in a pinch, but they often contain stabilizers that make them less ideal for candy bars.
Dark chocolate creates a rich, slightly bold bar. Milk chocolate tastes creamy and classic. White chocolate makes a sweet base for peppermint, pistachios, cranberries, and sprinkles.
For best results, chop the chocolate evenly before melting. Smaller pieces melt faster and reduce the risk of scorching.
Best Toppings and Molds
Silicone chocolate molds work best because they bend easily when you remove the finished bars. Make sure the molds are clean and fully dry before adding chocolate.
For toppings, choose ingredients with texture and color. Crushed peppermint candies, mini peanut butter cups, chopped peanuts, toffee bits, salted caramel pieces, crushed sandwich cookies, freeze-dried strawberries, almonds, pecans, macadamia nuts, and pistachios all work well.
However, avoid toppings that add too much moisture, such as fresh fruit. Moisture can affect the texture and shelf life of the chocolate.
How to Make Homemade Chocolate Bars
Melt the Chocolate
Start by setting up a double boiler. Place a heat-safe bowl over a pot of gently simmering water, making sure the bowl does not touch the water.
Add chopped chocolate to the bowl and stir often until smooth and glossy. Then remove it from the heat. Keep the bowl over the warm pot while working so the chocolate stays pourable.
You can also temper the chocolate if you want a firmer snap and a shinier finish. Tempering helps when gifting in warm weather or mailing the bars. However, for quick treats stored in the refrigerator, simple melted chocolate works well.
Pour, Top, and Chill
Spoon or pour the melted chocolate into silicone molds. Fill each mold to the top line, then smooth the surface with an offset spatula.
Next, sprinkle toppings over the chocolate before it begins to set. Use about one tablespoon of toppings per bar, depending on the mold size.
Let the molds sit at room temperature for about 10 minutes. Then place them on a baking sheet and chill in the refrigerator for about 20 minutes.
Once set, gently peel the silicone mold away from each bar. If the chocolate still feels soft, chill it a little longer before removing.
Wrapping, Storing, and Flavor Ideas
How to Wrap Chocolate Bars
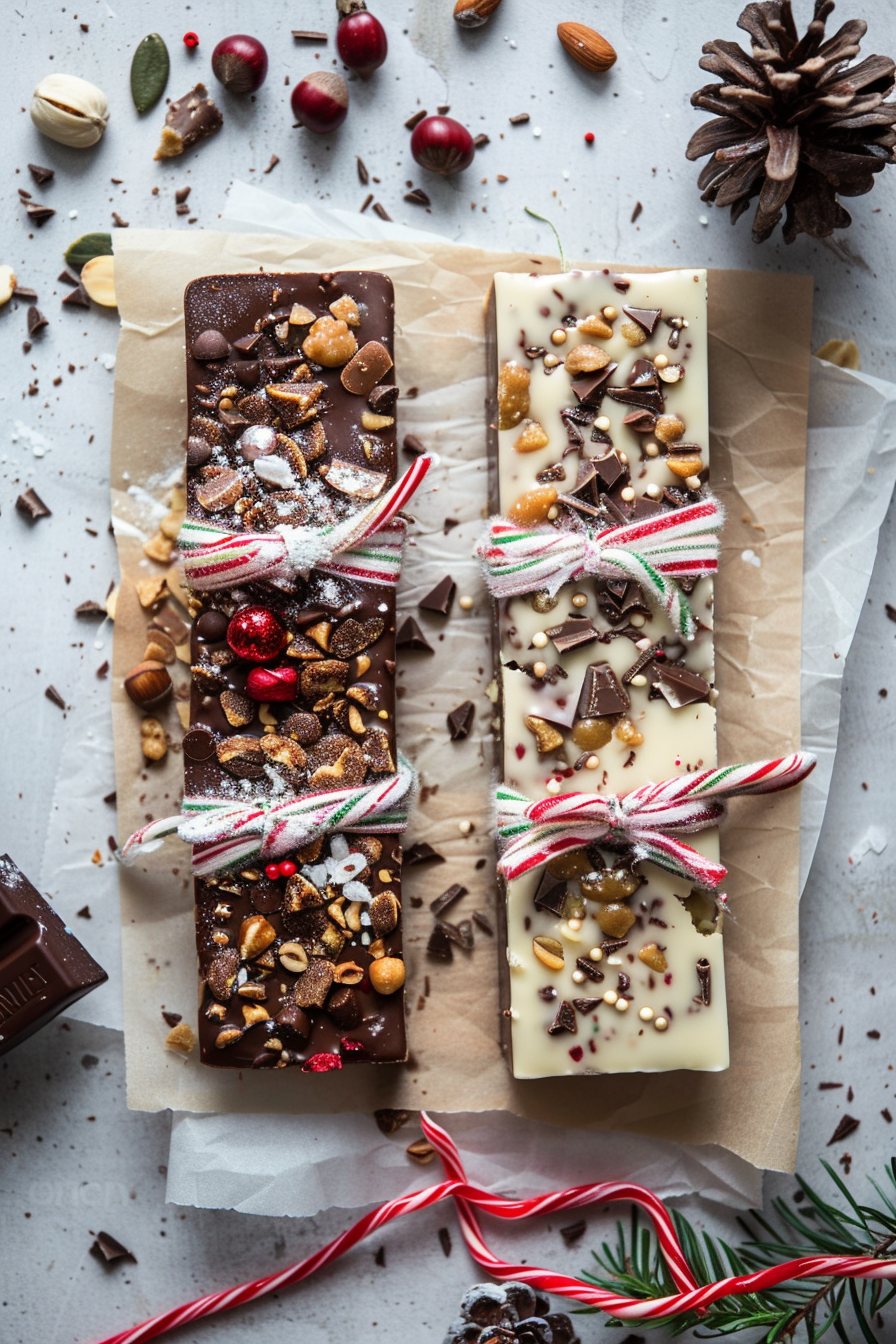
Homemade Chocolate Bars look beautiful when wrapped like little presents. First, wrap each bar in parchment paper or food-safe wax paper. Secure the back with tape.
Then add a strip of decorative paper around the center. Tie with twine, ribbon, or string. Finish with a gift tag, mini bow, rosemary sprig, candy cane, or small ornament.
For a clean look, choose wrapping colors that match the flavor. Red and white paper works well for peppermint bars, while kraft paper looks lovely with dark chocolate and nuts.
Flavor Combinations to Try
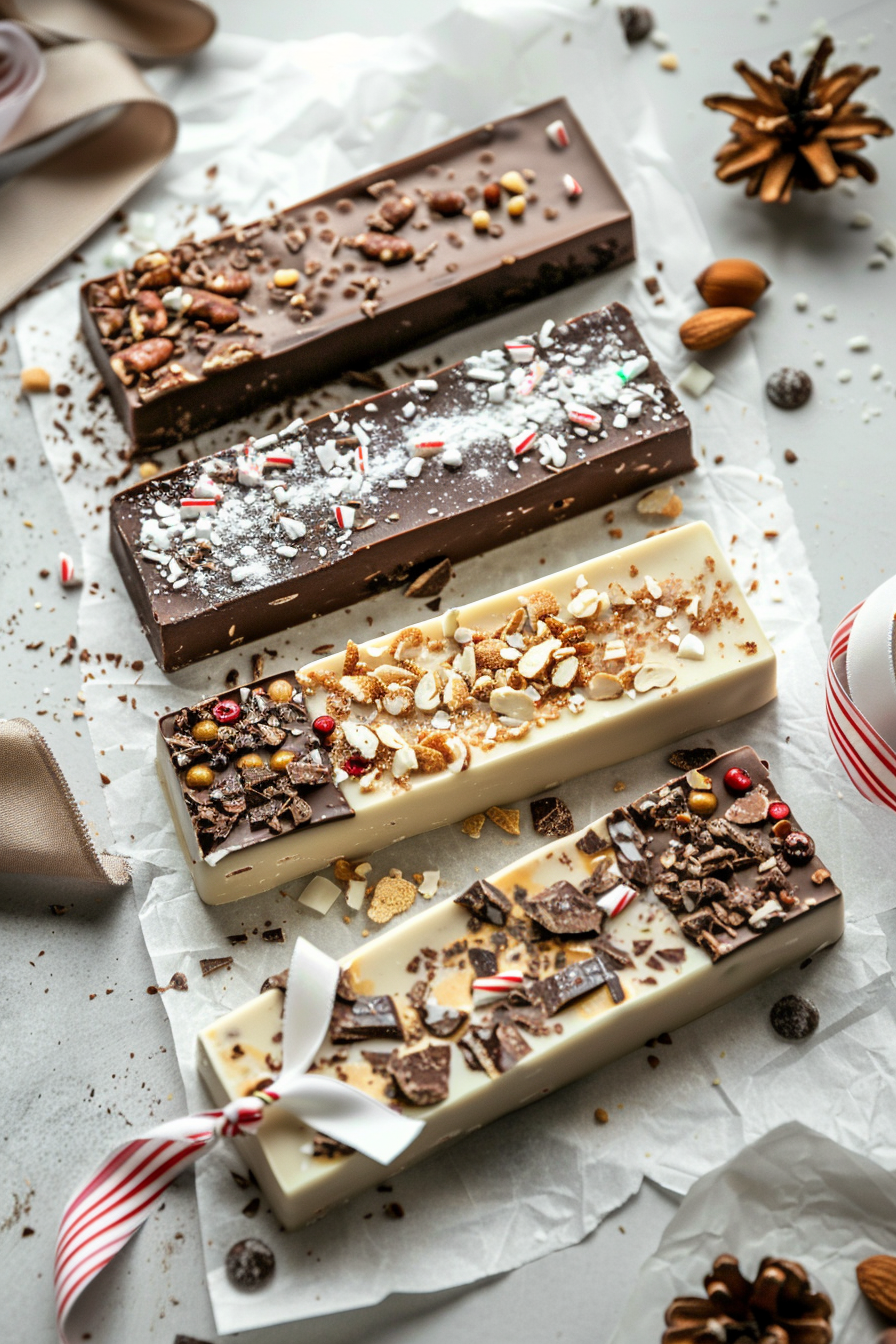
Try dark chocolate with toffee bits and flaky salt for a rich sweet-salty bar. For a classic holiday flavor, use white chocolate with crushed peppermint.
Milk chocolate pairs beautifully with chopped peanut butter cups, peanuts, caramel bits, or crushed cookies.
For a more elegant option, try dark chocolate with pistachios and dried cranberries. White chocolate with macadamia nuts also makes a creamy, bakery-style bar.
Since the recipe is flexible, you can create a whole gift box with several flavors.
FAQ
Can I use chocolate chips?
Yes, but chopped chocolate bars usually melt smoother and create better texture.
Do I need to temper the chocolate?
No, not for quick homemade gifts stored in the refrigerator. However, tempering helps create a shinier finish and better snap.
How long do homemade chocolate bars last?
They usually keep for 2 to 3 weeks in the refrigerator when wrapped well.
Can I mail homemade chocolate bars?
Yes, but temper the chocolate first and avoid shipping during warm weather.
What toppings work best?
Dry toppings work best, including nuts, toffee, crushed cookies, peppermint, sprinkles, and dried fruit.
Conclusion
Homemade Chocolate Bars are easy, customizable, and perfect for thoughtful edible gifts. With just melted chocolate, silicone molds, and your favorite toppings, you can make festive candy bars that look beautiful and taste amazing. Wrap them with parchment, ribbon, and gift tags, and you have a sweet homemade present ready for any celebration.
Leave a Reply