
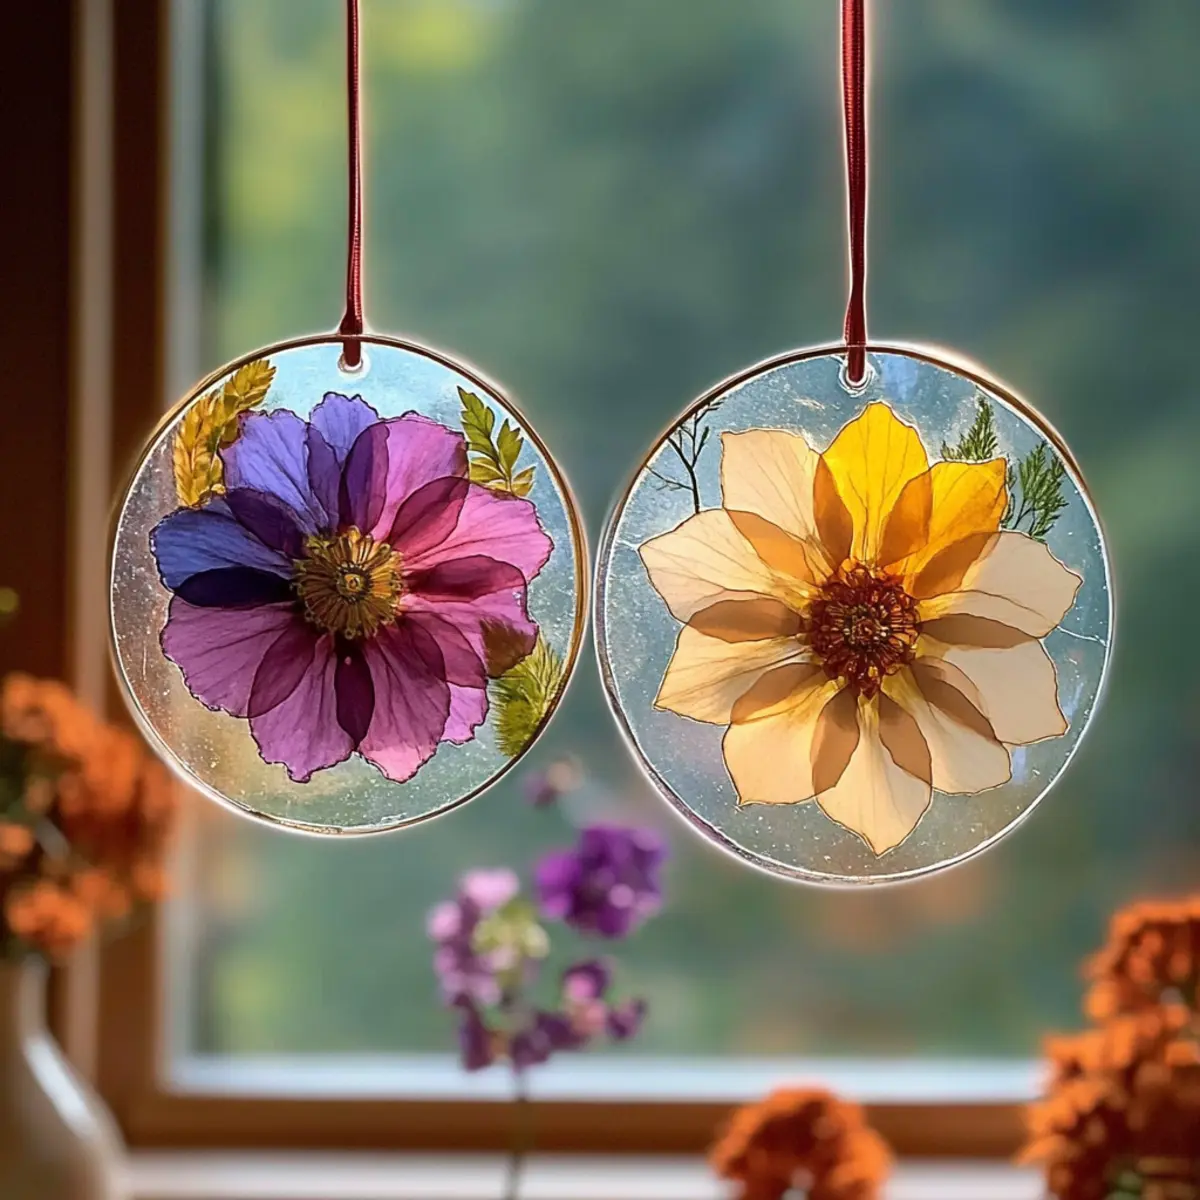
When the sunlight pours through my kitchen window, it transforms my space into a canvas of dancing colors. That’s when I decided it was time to create something magical—a Clear Glue Flower Suncatcher! This DIY project is not just a crafty way to brighten up your home; it's an exploration of art and nature that invites everyone to join in on the fun, from little artists to seasoned crafters.
Using just a handful of materials—like pressed flowers, vibrant tissue paper, and a sprinkle of glitter—I discovered how easy it is to turn everyday items into stunning window art. Each suncatcher reflects personality and creativity, twinkling as sunlight reveals its translucent beauty. Plus, it’s a perfect family-friendly activity that sparks joy, creativity, and cherished memories. So let’s dive into this colorful world where sunlight becomes art!
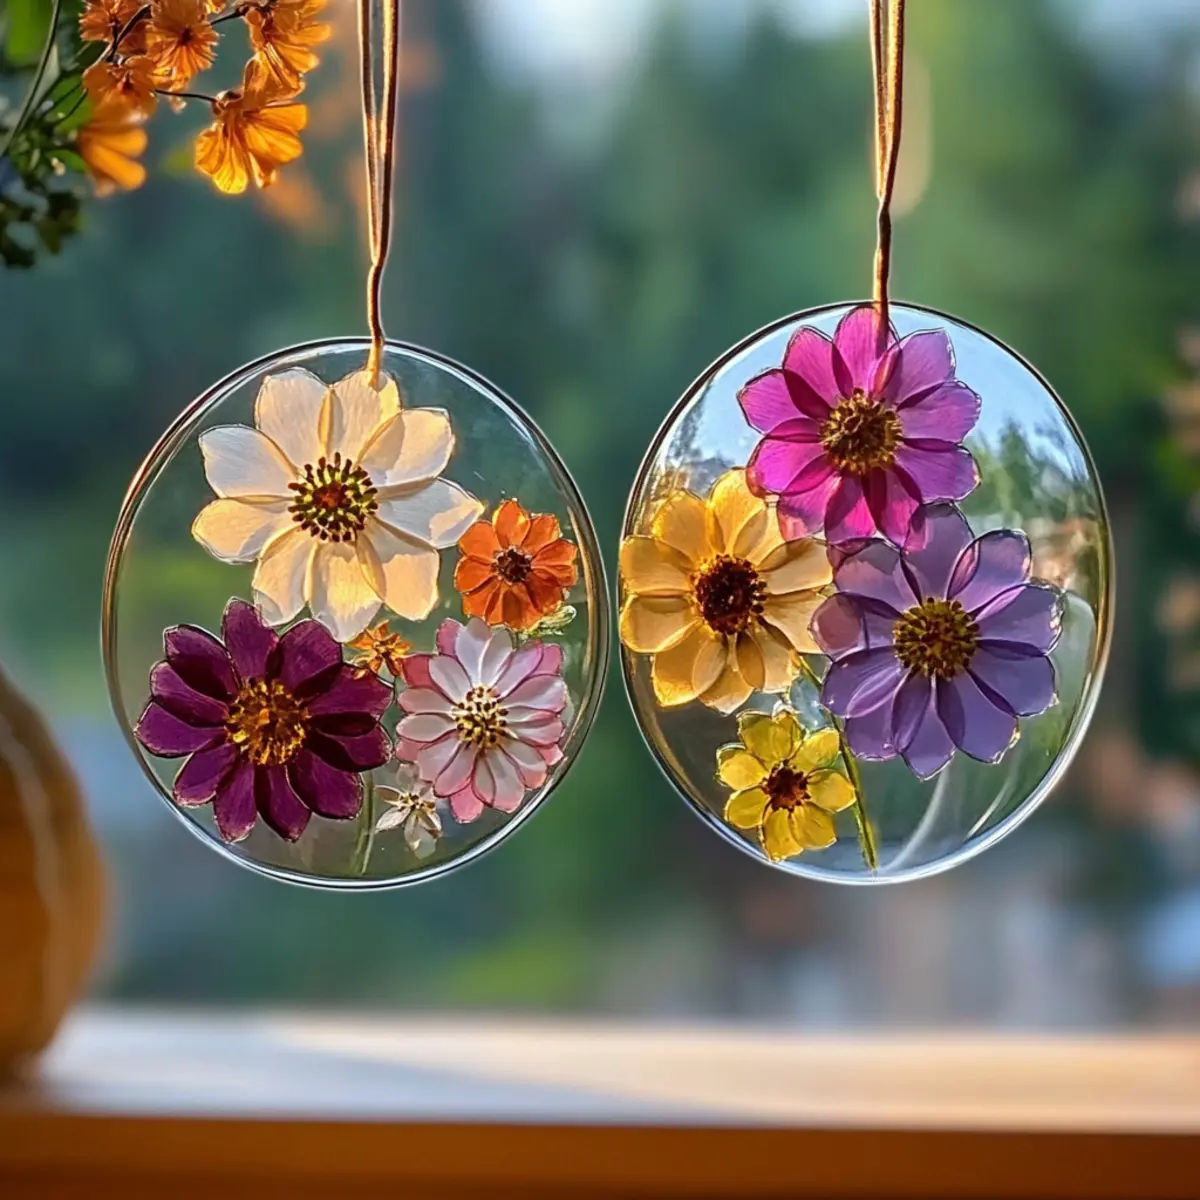
Why are Clear Glue Flower Suncatchers a Must-Try?
Joyful creativity: This craft project combines fun and imagination, perfect for all ages.
Vibrant display: The mix of pressed flowers and colorful tissue paper creates stunning art that transforms your windows.
Flexible design: Personalize each suncatcher with unique colors and materials to reflect your style or seasonal themes.
Simple materials: Using everyday supplies, such as glue and scissors, makes this activity accessible and quick to set up.
Ideal bonding time: Engage the whole family in a delightful hands-on experience, making memories while crafting together.
Perfect gifts: Create beautiful suncatchers in batches for thoughtful, handmade gifts that bring joy to friends and family.
Clear Glue Flower Suncatcher Ingredients
• For the Glue Mixture
- Clear School Glue – This is the adhesive base, and using a transparent variety ensures your design shines bright.
- Pressed Flowers – Incorporate different types for unique textures and aesthetics; they add natural beauty to your suncatcher.
- Tissue Paper Scraps – Choose colorful pieces to create a vibrant mosaic effect that captures and scatters sunlight beautifully.
- Glitter – Sprinkle in fine glitter to enhance sparkle; a touch of shimmer turns your craft into a dazzling artwork.
- Sequins – Use fun shapes to add depth and dimension; they bring a touch of whimsy to your Clear Glue Flower Suncatchers.
- Dried Leaves – These offer an earthy tone and seasonal flair; they blend perfectly with flowers for a rustic look.
• For the Frame & Tools
- Plastic Lid or Acetate Sheet – This serves as your mold; ensure it's sturdy to support the glue mixture without bending.
- String/Ribbon/Suction Cup Hook – Choose these for an easy hang; make sure they are strong enough to hold your beautiful creation.
- Wax Paper or Parchment – Protect your work surface while crafting, keeping things tidy and manageable.
- Scissors – Vital for cutting your materials into the desired shapes and sizes for your masterpiece.
- Hole Punch (optional) – Use this for creating a hanging hole if you’d like to add a decorative element.
- Black Marker (optional) – For outlining your suncatcher edges, this helps to frame your artwork elegantly.
These simple ingredients come together to create magic — not just a craft but an adventure filled with color and creativity!
How to Make Clear Glue Flower Suncatchers
Prepare your workspace by laying down wax paper to prevent any glue from sticking to your surfaces. This will make cleanup a breeze!
Mix clear glue with your chosen pressed flowers, tissue paper, glitter, and sequins in a bowl. Stir gently until everything is well-coated and the colors are vibrant.
Pour the glue mixture onto the plastic lid or acetate sheet, spreading it evenly with a spatula or spoon. Aim for a thickness of about ¼ inch for optimal results.
Let it sit undisturbed for 24 hours to fully cure. This will ensure that your suncatcher sets properly, avoiding any sticky spots.
Cut around the edges of your suncatcher using scissors once it’s dry, leaving a small border to give it shape and body.
Optional: Punch a hole at the top of the suncatcher for a hanging mechanism, then trim any excess edges for a neat finish.
Optional: Add a touch of ribbon to hang your suncatcher for an extra decorative flair!
Exact quantities are listed in the recipe card below.
Expert Tips for Clear Glue Flower Suncatchers
Use Quality Glue: Choose a clear school glue known for its transparency. This ensures your suncatcher remains vibrant and won't cloud over time.
Prep Materials: Ensure that pressed flowers and tissue paper are dry and flat to prevent mushiness when applying glue. This helps maintain the suncatcher's structure.
Curing Time: Be patient and allow a full day for the suncatcher to cure. Rushing this step can leave your creation tacky and prone to damage.
Safety First: Always supervise children when using scissors and hole punches. Teaching safe crafting habits ensures everyone enjoys the process responsibly.
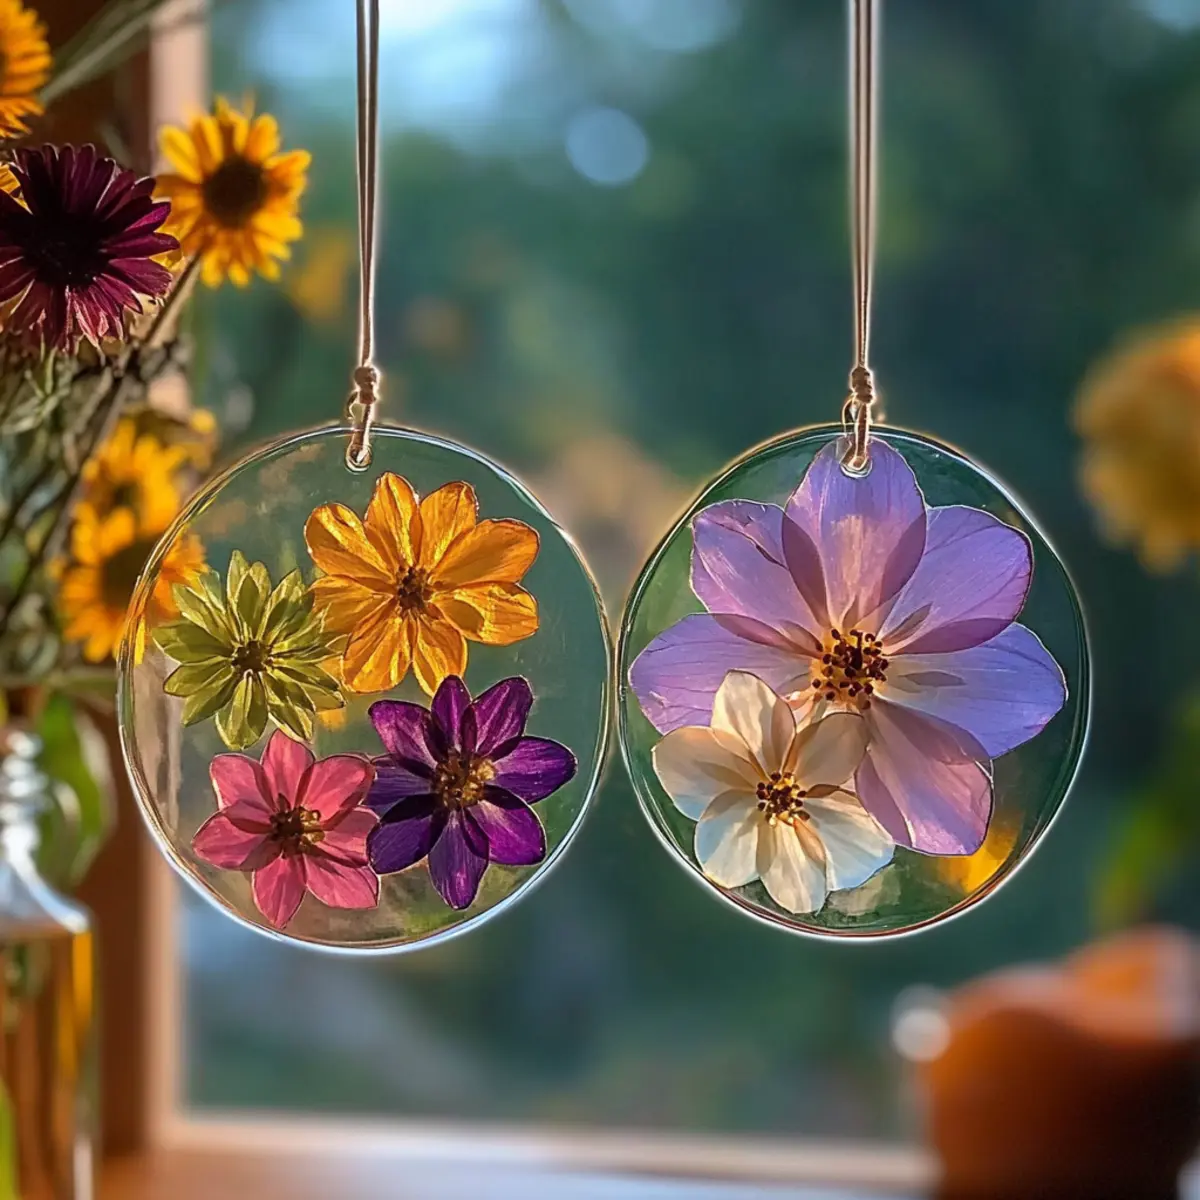
Mixing Colors: Experiment with tissue paper colors to match the season or occasion. This is a fantastic way to personalize your Clear Glue Flower Suncatchers for different settings!
Storage Tips: If making in batches, store your suncatchers flat in a cool, dry area until you're ready to hang them. This prevents any curling or unwanted stickiness.
What to Serve with Clear Glue Flower Suncatchers?
Brighten your crafting experience by complementing it with engaging activities that enhance creativity and fun.
Nature Walk: Take a stroll in your garden or a nearby park to collect fresh flowers and leaves. This tactile experience fuels inspiration and brings the outside in!
Crafting Playlist: Create a lively playlist filled with energizing tunes. Music enhances the crafting environment, sparking imagination and turning your workspace into a vibrant studio.
Snack Time Treats: Enjoy light finger foods like popcorn or fruit skewers. These bite-sized snacks keep energy levels up without distracting from the creative process.
Art Display Area: Designate a special spot in your home for showcasing completed suncatchers. A beautiful display encourages ongoing creativity and admiration of your handiwork.
Story Time Sharing: Gather around for a storytelling session after crafting. Sharing tales while you admire your creations fosters connection and creates magical memories.
Crafting Drinks: Sip on refreshing lemonades or herbal teas that complement the warm colors in your suncatchers. Enjoying a drink makes the crafting session even more delightful!
Engaging in these activities makes the creative process enjoyable, turning a simple craft into a cherished experience.
Clear Glue Flower Suncatcher Variations
Embrace creativity and let your imagination decorate these suncatchers in fun, new ways!
Leafy Touch: Substitute pressed flowers with leaves for a rustic charm that reflects nature's beauty.
Seasonal Splendor: Choose tissue paper colors that echo the season. Think pastels for spring or warm tones for autumn.
Sparkling Beads: Incorporate small beads alongside sequins to add texture. This twist elevates your suncatcher’s visual appeal and catches the light beautifully.
Glitter Galore: Experiment with different sizes of glitter, including chunky flakes for a more dramatic effect, making your suncatcher shimmer even more!
Nature’s Palette: Use dried petals from herbs like lavender or rosemary for a delightful aroma and a unique twist on the visual aesthetics.
Framed Art: Outline your suncatcher with a black marker for a defined, standout edge that enhances the artwork’s overall look.
Themed Designs: Craft suncatchers inspired by holidays—think red and green for Christmas or vibrant pinks for Valentine’s Day!
Multi-layered Magic: Create multi-layered suncatchers by adding a second layer of the glue mixture once the first layer has cured. This adds depth and a stunning 3D effect.
Make Ahead Options
Creating your Clear Glue Flower Suncatchers can be a breeze with some advanced prep! You can prepare the glue mixture with pressed flowers, tissue paper, and glitter up to 24 hours ahead of time, keeping it covered in an airtight container in the fridge to maintain freshness and prevent any drying out. For those who want to take it a step further, cut and lay out your dried flowers and other materials in advance to save time during the crafting session. When you’re ready to finish, simply pour the mixture onto your plastic lid or acetate sheet, let it cure for another 24 hours, and voilà—your stunning suncatcher will be ready to hang and enjoy, perfect for brightening up your home in minimal time!
How to Store and Freeze Clear Glue Flower Suncatchers
- Dry Storage: Keep your suncatchers in a dry, flat space, away from direct sunlight to prevent fading or warping. They should stay pristine for several months.
- Make-ahead Tips: If crafting in batches, store completed suncatchers flat between layers of wax paper to avoid sticking and preserve their beauty until ready to hang.
- Gift Preparation: For gifting, wrap them carefully in tissue paper and place them in a sturdy box. This will protect your Clear Glue Flower Suncatchers during transport.
- Display Suggestions: Once ready to hang, use suction cups or ribbon to proudly showcase your suncatchers where sunlight can highlight their vibrant colors and intricate designs.
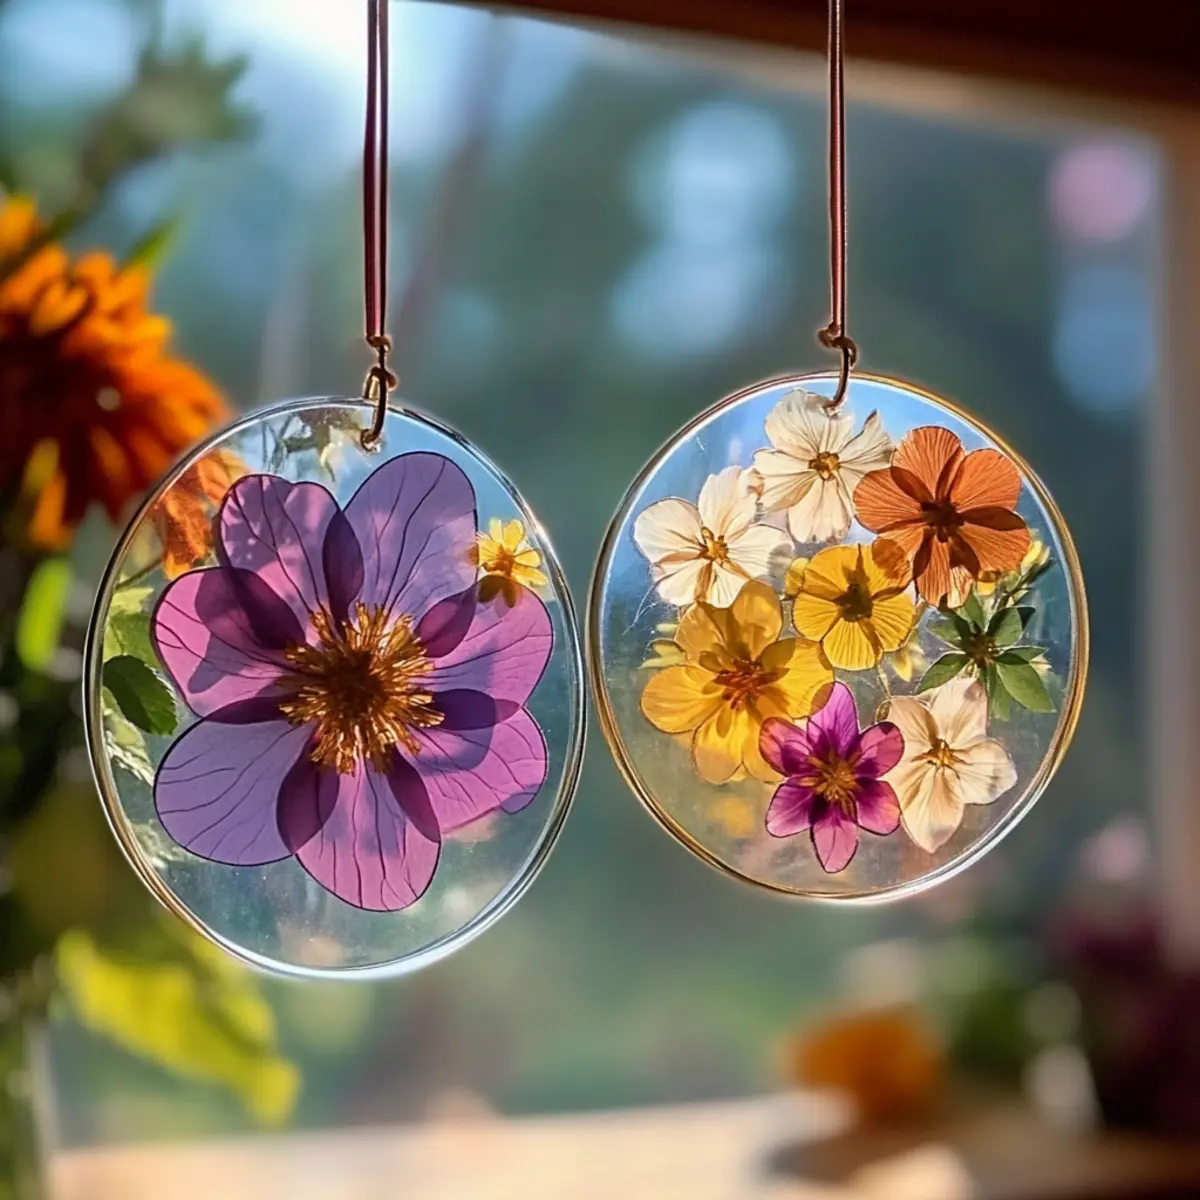
Clear Glue Flower Suncatcher Recipe FAQs
What type of clear school glue should I use?
Absolutely! Choose a clear school glue that is known for its transparency. This ensures a vibrant look for your suncatcher without cloudiness, maintaining the beauty of colors and designs you create.
How long does a Clear Glue Flower Suncatcher last when stored?
With proper care, your suncatcher can last for several months. Store it in a dry and flat area, away from direct sunlight to prevent fading or warping. Keeping it away from humidity helps maintain its structure.
Can I freeze my Clear Glue Flower Suncatchers?
It's not advisable to freeze these suncatchers. Freezing can cause the glue to break down or become tacky when thawed. Instead, focus on storing them flat in a cool, dry place until you’re ready to display them.
What should I do if my suncatcher is still sticky after curing?
If your suncatcher feels tacky even after 24 hours, it may not have cured properly due to excess glue or humidity. To remedy this, place it in a well-ventilated area and allow it to air dry for an additional day. Just be patient, as it can take time!
Are there any allergies I should consider with the ingredients?
Yes! While the materials are generally safe, note that some children may have allergies to certain flowers or glues. Always check the ingredient labels, and if you’re unsure, consider using hypoallergenic options or alternatives like natural dyes for color.
How can I ensure my materials are ready for crafting?
To prep your materials, ensure that your pressed flowers and tissue paper are completely dry and flat. Flatten flowers between heavy books before use, and allow any fresh materials to thoroughly air dry. This prevents mushiness and ensures your suncatcher holds its shape beautifully!
Clear Glue Flower Suncatchers: Brighten Your Home with Art!
Ingredients
Equipment
Method
- Prepare your workspace by laying down wax paper to prevent any glue from sticking to your surfaces.
- Mix clear glue with your chosen pressed flowers, tissue paper, glitter, and sequins in a bowl.
- Pour the glue mixture onto the plastic lid or acetate sheet, spreading it evenly.
- Let it sit undisturbed for 24 hours to fully cure.
- Cut around the edges of your suncatcher using scissors once it’s dry.
- Optional: Punch a hole at the top of the suncatcher for a hanging mechanism.
Leave a Reply